Moadra demo boss: Combat Tips and Prep Guide
Prepare for the Moadra demo boss with practical combat tips, upgrade priorities, and a retry checklist, plus clear limits on confirmed encounter details.
Moadra Demo Boss: What to Know Before You Fight
The Moadra demo boss is a good reason to stop firing on instinct and start watching what the enemy does. Learning how to recognize danger, preserve room to move, and use your available upgrades can make retries more productive. This Moadra demo boss guide focuses on that preparation without inventing a boss name, attack sequence, or weakness that the available sources do not establish.
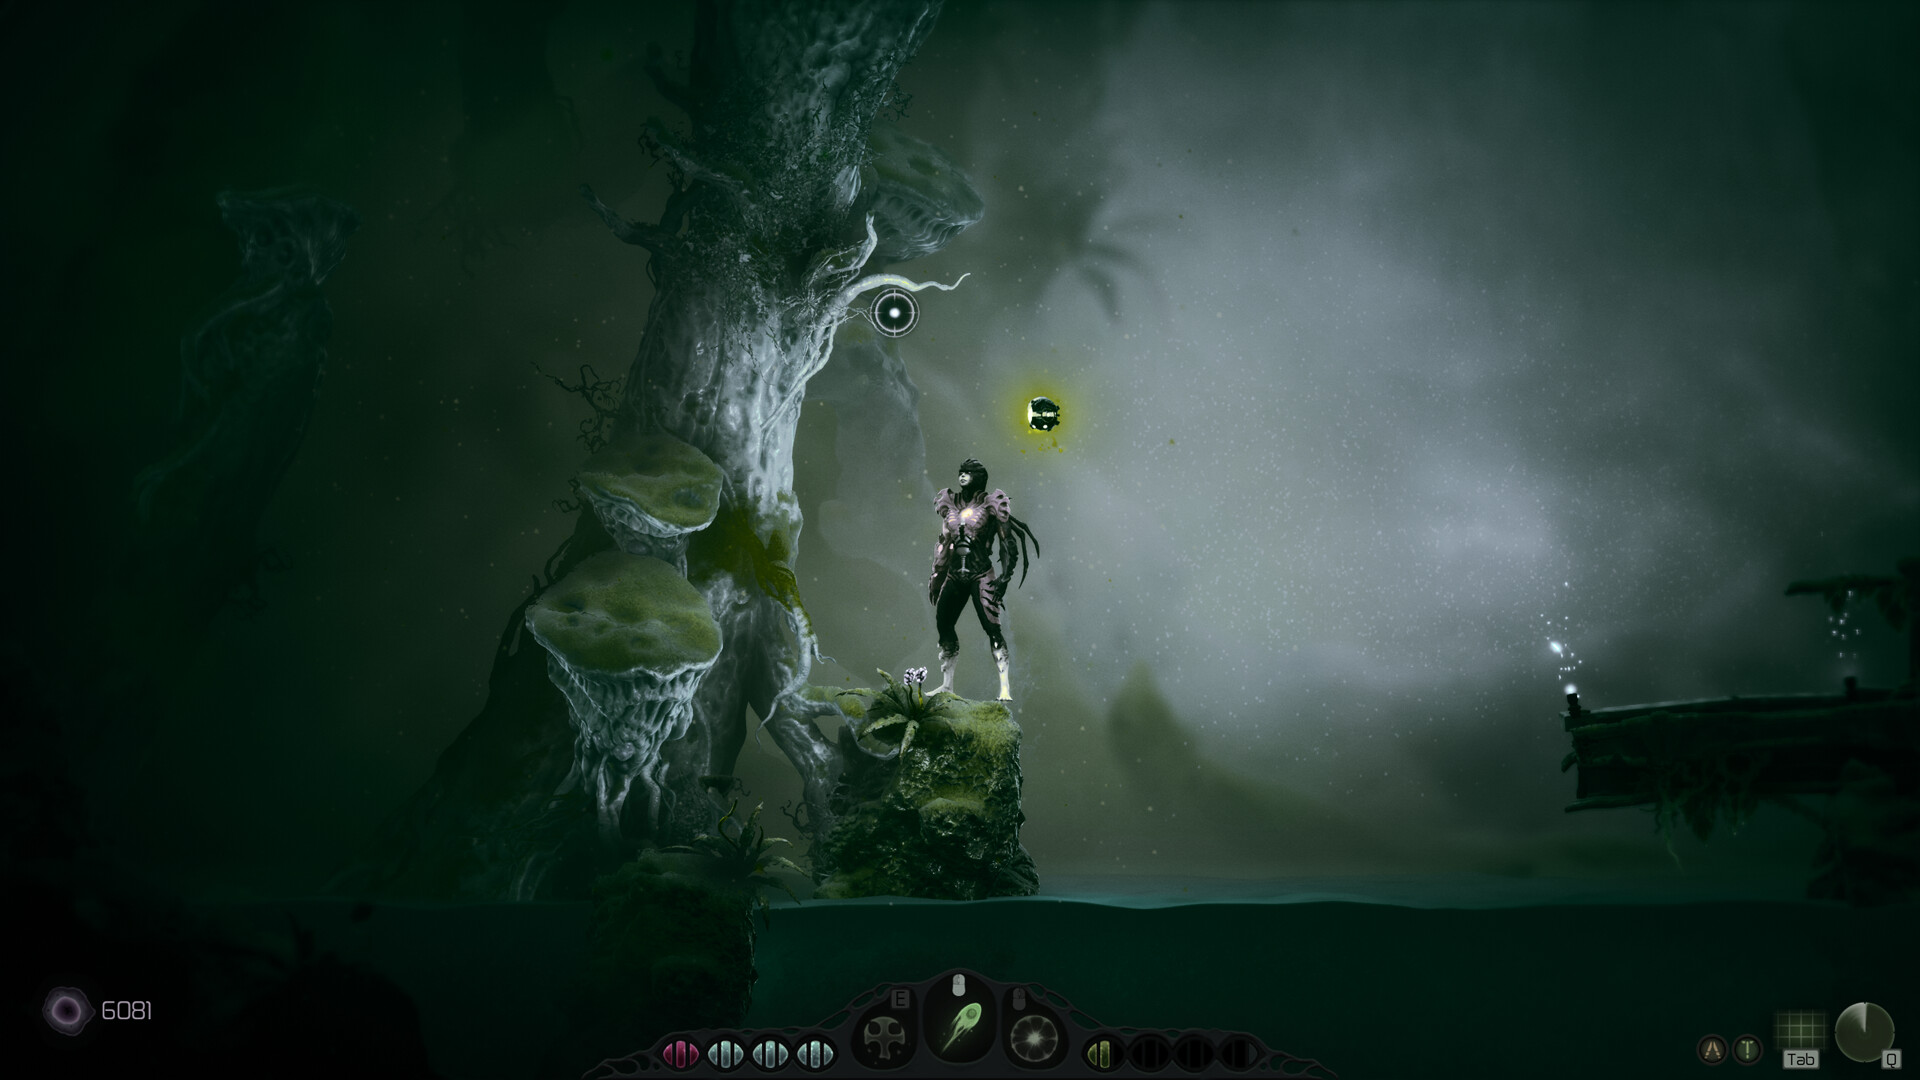
Official screenshot · Source: Steam store
The important limitation: the supplied coverage describes Moadra’s movement, exploration, mutation system, and general boss design, but it does not document the demo encounter in detail. Treat the combat recommendations below as practical strategies to test, not a verified, attack-by-attack walkthrough.
That distinction matters. Advice to dodge through every attack, target a particular body part, or save ammunition for a scripted second phase would be misleading without encounter footage or reliable documentation.
What is confirmed—and what is not
| Topic | What the references support | What remains unverified |
|---|---|---|
| Game structure | A single-player Metroidvania with an interconnected world | The demo’s exact route and boundaries |
| Movement | Rolling, dodging, jumping, wall jumping, and sprinting are described | Which abilities are available before the demo boss |
| Progression | Protoplasm supports weapon and ability evolution in organic chambers | The demo’s upgrade costs and available mutations |
| Boss design | Community reports describe multiphase battles | The demo boss’s phase count and transition triggers |
| Encounter details | Large monsters are part of the game’s combat | Boss name, health, weaknesses, and exact attack timings |
Community reports: an October 7 post from GermanStrands described a Steam demo and multiphase boss battles. That supports the broader context, not a specific strategy for the demo encounter.
To check current demo availability, use the Moadra search results on the official Steam store. An earlier announcement that a demo was available does not establish that it remains downloadable today.
Prepare Your Movement and Upgrades Before Entering
Good preparation starts with knowing what your current character can actually do. Moadra’s broader feature descriptions list several traversal and defensive actions, but do not assume your demo save includes all of them.
Before attempting the Moadra demo boss, test each available movement option against ordinary enemies or in a safe area. Focus on distance, recovery, and control rather than simply confirming that a button works.
Test your defensive options
| Preparation task | What to observe | Why it helps |
|---|---|---|
| Perform a short jump | Height, airtime, and landing control | Helps you avoid unnecessary time in the air |
| Test a roll or dodge, if unlocked | Travel distance and recovery | Reduces accidental movement into danger |
| Practice changing direction | How quickly you can reverse course | Makes repositioning more deliberate |
| Try wall jumping, if available | Launch direction and landing position | Shows whether nearby walls offer useful escape routes |
| Fire while moving | Which actions interrupt your attacks | Helps separate safe damage from risky commitments |
Do not assume that a dodge grants invulnerability. A movement animation can move you away from a hit without allowing you to pass safely through an enemy or attack.
Similarly, a longer jump is not automatically a better defense. Extra airtime can leave you committed when the boss changes its position. Practice the smallest movement that clears an ordinary hazard, then apply that principle cautiously in the arena.
Review mutations without inventing a “best build”
The published feature overview describes collecting Protoplasm from defeated organisms and spending it in organic chambers to evolve weapons and abilities. It does not provide a verified demo upgrade list.
If those systems are accessible in your build:
- Read the full description of each available mutation.
- Check whether its benefit applies to the weapon or ability you actually use.
- Consider whether your problem is low damage, poor survival, or unreliable positioning.
- Test a change against familiar enemies before judging it in a boss attempt.
- Check whether choices can be reversed before committing resources.
A damage increase will not solve repeated positioning mistakes by itself. Conversely, if you consistently survive but rarely land attacks, a more usable weapon improvement could matter more than a theoretical maximum-damage option.
Approach the Moadra Demo Boss as a Pattern-Reading Test
Your first attempt does not have to be a winning attempt. It can be a scouting run that reveals how the enemy signals attacks, how much space you need, and when firing becomes unsafe.
For the Moadra demo boss, a useful starting approach is observe, evade, then punish. This is a learning framework, not a confirmed encounter script.
Separate each attack into three parts
Look for a preparation cue, the dangerous action itself, and the moment when the enemy becomes less threatening. Those stages may be brief or overlap, so avoid assuming every animation ends with a generous opening.
| Observation stage | Questions to ask | Useful response |
|---|---|---|
| Preparation | Does the enemy pause, turn, crouch, or change posture? | Prepare to move without committing too early |
| Active attack | Where does the danger travel? Does it follow you? | Prioritize avoiding damage |
| Possible recovery | Does the enemy stop moving or stop attacking? | Test a short burst of damage |
| Return to neutral | Has another animation already begun? | Stop attacking and reassess |
Start with short attack windows. Land a few safe hits, then disengage. Extend those windows only after you have seen the same situation repeat reliably.
This method is slower than attacking continuously, but it helps you identify why a hit happened. If you are always firing and moving at once, it becomes harder to distinguish a late dodge from an overly long attack commitment.
Keep an escape route open
Positioning advice depends on the arena, which the supplied references do not describe. Nevertheless, one useful question applies almost anywhere: where can you move if an attack begins now?
When the layout permits it, avoid lingering somewhere that leaves only one escape direction. If you retreat to an edge, look for a safe opportunity to regain space rather than continuing to back away automatically.
Watch your landing position, too. Clearing an attack is only half the job if you land beside the boss or in the path of a follow-up.
Use a simple three-attempt learning plan
- Attempt one: identify cues. Focus on recognizing distinct attacks and noticing what precedes them.
- Attempt two: test movement. Choose one troublesome attack and compare controlled responses.
- Attempt three: improve damage uptime. Attack during openings you have already tested.
Three attempts is an organizational suggestion, not a claim about how quickly you should win. Some patterns take longer to understand, and progress may mean surviving one attack consistently rather than reaching the end.
Handle Possible Phase Changes Without Guessing
Community reports describe Moadra as having multiphase boss battles. They do not establish that the Moadra demo boss has a particular number of phases, a specific health threshold, or a fixed transformation sequence.
The practical response is to stay alert for changes rather than save resources for an invented script.
Possible signs worth watching include:
- A noticeably different stance or movement pattern.
- New attacks replacing familiar ones.
- Shorter gaps between actions.
- A changed arena condition.
- A visual transition followed by different behavior.
These are observation prompts, not confirmed features of this encounter.
| If you notice… | A cautious response | What not to assume |
|---|---|---|
| An unfamiliar animation | Pause aggressive attacks and watch | That the boss is temporarily harmless |
| Faster attack sequences | Shorten your damage windows | That your earlier timing still works |
| A changed arena | Recheck available space | That a previously safe position remains safe |
| A long pause | Stay ready while testing a brief opening | That the fight has ended |
| A new visual effect | Watch its actual gameplay consequence | That its color identifies a weakness |
The first seconds after a behavioral change are a good time to favor survival over damage. A small reduction in aggression can preserve an attempt long enough to learn the new pattern.
If nothing changes, do not force a phase-based interpretation onto the fight. Respond to what happens on screen.
Troubleshoot Failed Attempts and Improve One Thing at a Time
Repeated losses become useful only when they produce a specific adjustment. “I need to play better” is too broad. “I kept firing after the recovery animation ended” gives you something concrete to change.
After a Moadra demo boss attempt, identify the most frequent source of damage. Work on that first rather than changing your weapon, positioning, and defensive timing simultaneously.
| Problem you observe | Possible explanation to test | Next adjustment |
|---|---|---|
| You get hit while attacking | Your damage window may be too long | End each attack burst earlier |
| You repeatedly lose space | Retreating may be pushing you toward an edge | Reposition during a verified opening |
| You get hit after jumping | Your landing may be predictable or poorly placed | Try a smaller jump or grounded response where safe |
| Dodges do not prevent damage | Timing, distance, or invulnerability assumptions may be wrong | Test the move against a familiar threat |
| You survive but deal little damage | You may be missing safe openings | Add one brief attack after a recognized pattern |
| Your results vary wildly | Too many decisions may be changing between attempts | Keep one plan consistent for several tries |
Make exploration purposeful
The game’s feature overview describes a scanner bot and X-ray vision for investigating creatures and revealing concealed routes. If these tools are available in your demo, use them while reviewing accessible areas.
Do not assume that scanning reveals a boss weakness; the supplied material does not establish that function. Likewise, a hidden passage is not guaranteed to contain an upgrade.
Instead, explore with a clear purpose: check a route you skipped, inspect an unexplored branch, or revisit an accessible organic chamber. This turns backtracking into a deliberate preparation step rather than an endless search for a hypothetical required item.
Keep a short retry note
A useful note needs only three entries:
- What hit me most often?
- Which response worked at least once?
- What single change will I test next?
The best Moadra demo boss strategy is one you can repeat. Once you find a dependable response to an attack, preserve it while improving another part of the fight. Consistency gives you a stronger foundation than an occasional high-damage attempt built on risky guesses.
FAQ
What is the Moadra demo boss called?
The supplied references do not identify the boss by name. They also do not establish its exact location, health total, or attack list. A specific identification would require clearer in-game evidence or encounter documentation.
What is the best weapon for the demo boss?
No verified weapon ranking is available in the reference material. Start with an available weapon you can use consistently while moving and reacting. Evaluate upgrades by their actual descriptions rather than assuming a particular damage type is effective.
Does the demo boss have multiple phases?
Community reports describe multiphase boss battles in Moadra generally, but they do not confirm the demo encounter’s phase structure. Watch for behavioral changes and reassess your timing instead of relying on an unsupported phase count.
Should I explore more if I cannot beat the boss?
If accessible routes remain unexplored, checking them can help you understand the map and review any available progression options. However, the sources do not establish that a particular upgrade is required. Combine purposeful exploration with focused practice: identify your most common mistake, test one adjustment, and keep the responses that work.
Related Guides
Moadra all bosses: What's Known and Combat Tips
Looking for Moadra all bosses? Check what's verified about the boss roster, combat tools, upgrades, and practical preparation tips.
Moadra full map: Exploration and Hidden Path Guide
Looking for a Moadra full map? Learn how to find hidden paths, read objectives, revisit blocked routes, and explore Protea VI more efficiently.
Moadra good ending: What You Can Verify Today
Looking for the Moadra good ending? Learn what the available evidence supports, avoid a mismatched walkthrough, and check ending guides safely.
Moadra price: Steam Launch Deal and Buying Guide
Check the Moadra price, Steam's $22.49 launch offer, its November 5 deadline, Xbox availability, and free demo details before buying.
Moadra Steam: Price, Demo, and Steam Deck Guide
Explore Moadra Steam pricing, demo save transfers, Steam Deck support, PC requirements, and launch feedback before buying.